What You'll Need
Tools
Stand mixer fitted with a dough hook attachment
Kitchen Scale
Mixing Bowl
Dough Scraper
Rice Flour for dusting
Levain
45 grams active sourdough starter
45 ml warm water (80°F)
45 grams Artisan Bread Flour
Blue Corn Masa
150 grams Masienda Blue Corn Masa Harina
3/4 tsp salt
240 ml warm water (80°F)
2-1/4 teaspoon butterfly pea flowers (optional, for additional natural color)
Autolyse
450 ml water
660 grams Artisan Bread Flour
16 grams salt
Directions
Prepare the levain
Combine the active sourdough starter and water in a mixing bowl. Add the flour and mix well until every bit of flour is hydrated. Transfer to a glass jar or bowl and mark the level before rising, using a rubber band or a marker. Let rise in a warm place (80°F) for 2 to 2-1/2 hours until risen by 150%.
Make butterfly pea flower tea (optional)
Bring the water to a boil, pour it over the butterfly pea flowers, and let it steep (this can be done a few hours in advance). Strain out the flowers, squeezing them to collect as much water as you can. Not all of the water will be squeezed out, so just add a little bit more water to the bowl to bring the measurement back to 240 ml. Warm it up a bit and use this tea to rehydrate the masa in place of the specified 240 ml water, mentioned in the following step.
Prepare the masa
Put the masa harina and salt in a bowl and slowly pour in the warm water (or butterfly pea flower tea). Mix until the masa is evenly hydrated. Place in a wide, flat container, cover with a layer of plastic wrap, press down to flatten the masa, and let cool to room temperature.
Autolyse
One hour before levain is ready, make the autolyse. Put the water in the bowl of a stand mixer fitted with a dough hook, then add the bread flour. Mix on low speed until all of the flour is evenly hydrated, 2 to 3 minutes. Cover the bowl with a damp tea towel and let it sit until the levain is ready. The hydrated dough will develop gluten over time. This is important to give your dough a head start on developing strength and elasticity.
Mix Dough
Once the levain has grown in volume by 150%, it is ready to be mixed into the autolyse. Once the levain is ready, add it to the mixer together with the salt and mix until well dispersed. If you do this by hand, make sure to really mix well, until all of the salt is dissolved and the levain is well incorporated. Cover the bowl with a damp tea towel and let it sit for 30 minutes.
Stretch-and-fold, Mix in Masa
After the dough rests for 30 minutes, stretch and fold the dough. With wet hands, dig your hand into the 12 o’clock position of the dough, grabbing the underside of the dough, and stretch it toward you as much as you can without the dough tearing. Repeat this around the entire circumference of the dough. Cover and let sit for another 30 minutes.
After 30 minutes, put the masa mixture on top of the dough. You will now stretch and fold again, but this time you’ll stretch the dough over the masa and cover it entirely. After this, attach the bowl to the mixer with a hook attachment and mix on low until the masa is completely incorporated.
Grease a bowl with a neutral oil, such as grapeseed, or a pan spray. Using a dough scraper, transfer the dough into the greased bowl. The dough will be very wet and sticky; this is normal. Let it sit for 15 minutes.
After 15 minutes, stretch and fold the dough. Let rest, and repeat twice more at 15-minute intervals. By this time, the dough should have developed enough strength that it will start to hold its shape better. The goal is to stop folding once the dough holds a slight dome surface.
Bulk Fermentation
Let the dough rest until the volume increases about 50% (about 4 hours). The fermentation will cause bubbles to form in the surface and around the sides of the bowl.
To test, cut a piece of the dough and place it a bowl of water. If it floats, it is ready. If it sinks to the bottom, it is not ready.
Divide and preshape
Turn the dough out onto an unfloured surface and divide it into two equal pieces.
With a bench knife, shape the dough into a rounded ball by positioning the bench knife at 2 o’clock and scraping under the dough to lift it toward 7 o’clock while your left hand supports the dough (if you’re left-handed, lift from 11 o’clock to 5 o’clock). This stretches the surface tension of the dough so you end up with a nice, tight, smooth ball of dough. Repeat with the other piece of dough.
Cover with a damp tea towel and let it sit for 45 minutes. The dough should start to flatten out but still maintain its rounded edges.
Shape
Once the dough has relaxed, it’s time to add strength one final time. Sprinkle a little bit of flour on top of the dough. With a bench knife, scoop up the dough and place it floured-side down on a floured surface.
Lift the entire bottom and fold two-thirds of it over. Then stretch both sides of the folded dough and pull them into the center, overlapping each other. Grab the top flap and fold into the middle. Now, using the thumb and index finger of each hand, starting from the top left and right corners, “zip” or “stitch” the dough down the middle by pulling the outer edge inward, all the way to the bottom.
At this point, you can grab the very top flap with your fingers and lift and fold it to meet the bottom flap. Place this, seam-side up, in a banneton or large mixing bowl dusted with rice flour.
Cold Fermentation
Cover the dough with a damp tea towel and refrigerate for 12 to 18 hours. Refrigerating the dough slows down the fermentation process but also develops the flavor of the loaf even further. Just make sure the dough has proofed enough at room temperature first, because chilling will drastically slow the fermentation.
Bake
When ready to bake, center a rack in the oven and pre-heat a Dutch oven with a lid at 500°F [260°C].
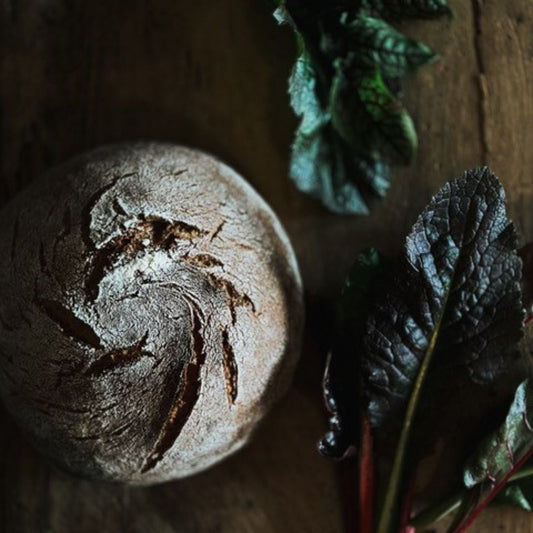
When the oven is preheated, take one of the proofing baskets out of the fridge, uncover it, and put a piece of parchment paper over the basket. Using both hands, flip everything over. Gently remove the basket and score the dough, then transfer to the preheated Dutch oven.
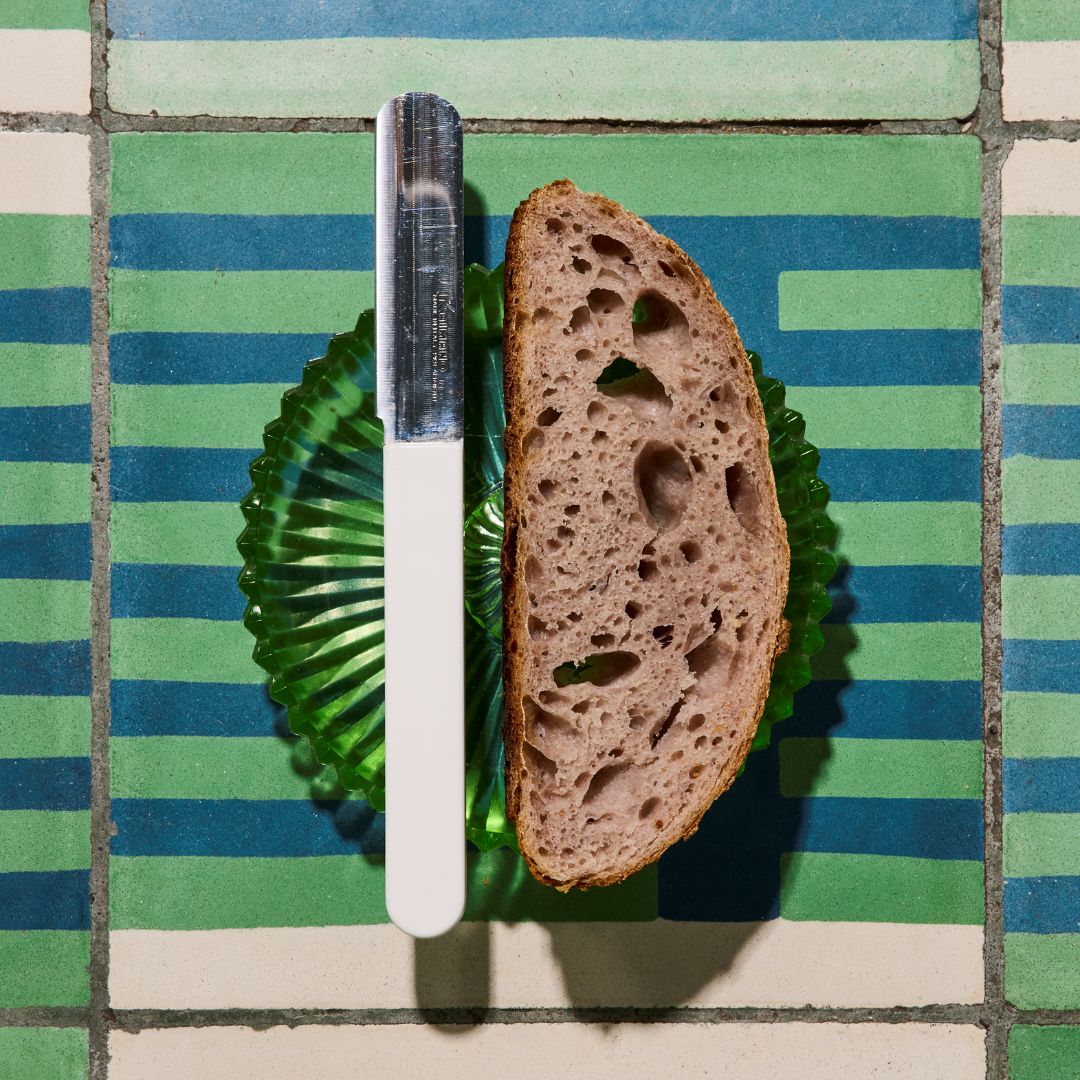
Place in the oven, cover with the lid, and bake for 20 minutes. After 20 minutes, remove the lid and lower the oven temperature to 450°F. Bake for another 20 minutes or until the crust is nice and brown. When done, the loaf should have an internal temperature of around 204°F (95°C), with an even golden crust. Let the loaves cool on a wire rack for at least 1 to 2 hours before slicing.
Place both Tin Loafs in oven. Bake at 350 F/ 176 C for 45 minutes. Remove from the oven, remove breads from Tins and place on cooling rack. Let completely cool before slicing.
Share and enjoy!
Makes two loaves.
Reprinted from Masa by Jorge Gaviria with permission from Chronicle Books, 2022. Photographs © Graydon Herriott. Recipe by Karlo Evaristo